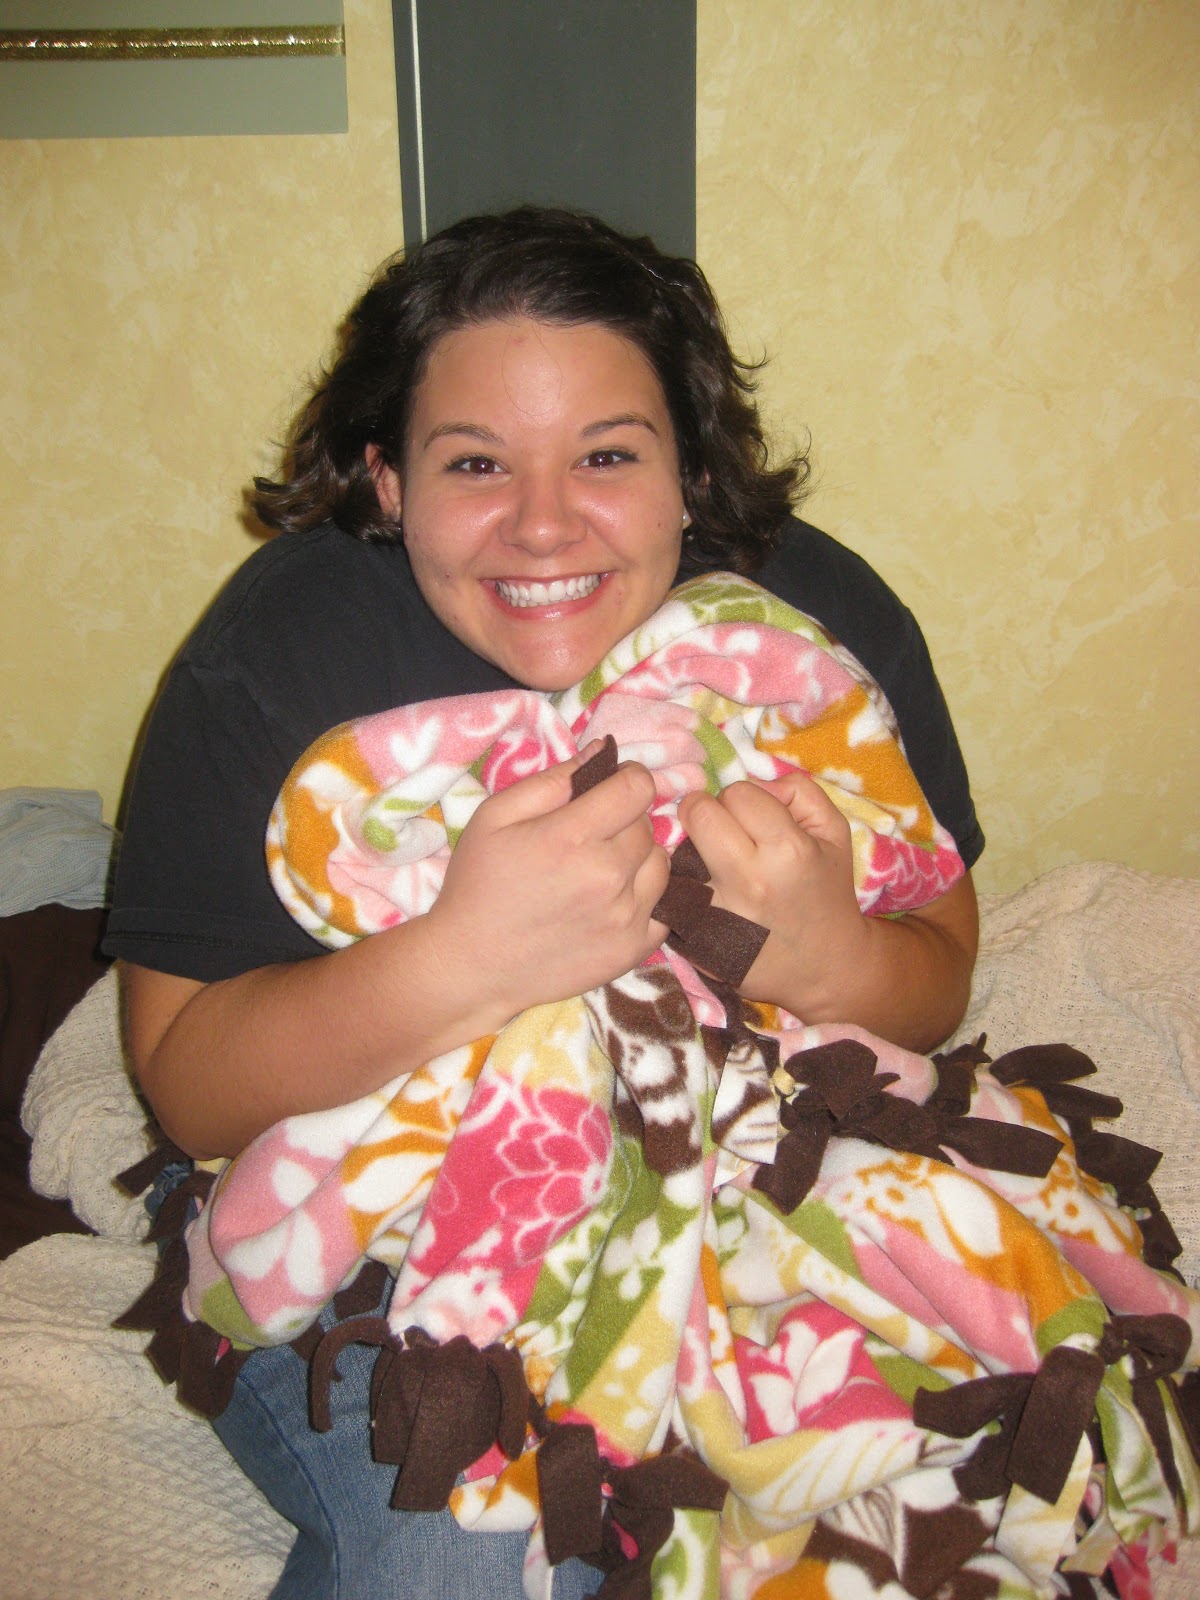
I know she missed it, so this year for her birthday I decided to make her another one- and here it is!
Now I do realize that there are plenty of instructions that exist already on how to do this, but I find that they are often lacking details that can seem unimportant but often make a big difference- either in project outcome or frustration level of the craftee. Also, I learned several things the first time I made one of these that helped for the second one, so I will also mention those.
1. Picking Out the Fabric
Where: here in Eau Claire I would recommend JoAnn Fabric Store because they have the best selection, have the most organized selection, and perhaps most important is that the fleece is always either on sale, or I have a 40% off coupon. Hancock Fabric and Mill End Textiles also have fleece, if you can't find what you are looking for at JoAnn's.
What: you need to cuts of fabric for this blanket- one patterned and one solid color. Don't get two different patterned pieces, it might look tacky. Think of the person this blanket is for and try to pick out what they would like, not what you would like...this is the hardest part- unless the blanket is for you! Once you have chosen your patterned side, take the roll over to the solid colors area and find one that coordinates. Find a color in the pattern side that you like, not necessarily the most prominent color, and try to find the matching color solid.
How: when trying to pick out your patterned side of fleece, don't be afraid to take the ones you are considering off the shelf and line them up next to each other somewhere- helps you keep track of what you have looked at and helps you to decide. Basically, make yourself at home there and don't be shy...
2. How Much Fabric do I Deed?
Good question- who is the blanket for?
Teenager/Adult: I like 2.5 yards. I like my toes to be covered! 2.5 yards fits perfectly on a twin bed. You can go 2 yards, which will make a more square blanket. The width of the blanket will be whatever the width is that it comes in- which is a standard.
Baby: Depending on age/size, 1 to 1.5 yards will do fine. Keep in mind that if it is on the bigger side, the child can always grow into it.
For someone who has never been in a fabric store before: you pick out the roll of fleece you want, take it to the cutting counter, tell them how many yards you want and they cut it for you.
3. What Else do I Need?
A rotary cutting tool and a cutting mat- these make things a lot easier. It can be done with a scissors but it will take you many hours longer and be very frustrating. The rotary cutter and mat are fairly inexpensive.
4. Getting Started
Clear the floor, you need to lay the whole cut of fabric out and you need some room around the edges to work. Lay out one cut of fabric (doesn't matter which one) and smooth it out. Then lay the second cut of fabric on top of it (this is easiest with two people) and smooth both out together. They will likely be slightly different sizes, so lay them as evenly as possible.
 5. The First Cut
The two pieces of fabric need to be cut together to equal the exact same size, and any rough edges need to be cut off. Basically, you will cut the least amount possible from each edge, so that each edge is lined up with the one beneath it, and there are no rough spots.


6. Cut, Cut, Cut
Start at a corner and cut out a 4X4 inch square; do this at all of the corners. You will cut through both pieces of fabric at the same time, so press hard enough. Next to the where you just cut out one of the square corners, make a one-inch wide by four-inch long cut. Continue cutting these one by four "fringes" all the way around the blanket. You should now have fringes cut all the way around the entire fabric with a 4X4 square cut out of each corner.
*It helps to have a cutting mat with one-inch markers so you know exactly where to cut.
*Do some guesstimation! You are cutting fringes...cutting, cutting...you are approaching the next corner. Towards the corner you may need to make a few of the last fringes a little bigger or smaller to accommodate the actual size of your blanket and the fact that it is not perfectly measured. Don't worry about it.
 7. Tie, Tie, Tie
Find a helper, it makes this so much faster and easier. This is the most labor intensive part.
Start at one of the long sides of the blanket. Go to the corner, take the first set of fringe in your hand and tie the top and bottom piece together into a knot. Tie it as tight as possible but not tight enough to pull the body of the fabric. You will understand what I mean when you do this. Then tie another knot so that it is double knotted.
 Important Note: tie every knot the same way, meaning that if you tie a knot using your left hand over your right, make sure you tie every knot that way. All the knots will fall the same way and be more consistent in color.
 Now, skip the next set of fringe and go to the 3rd pair of fringe. You will continue like this, tying knots in every other fringe until you finish the first side. When you finish the first long side of the blanket move over to the opposite long side and, starting at the corner again tie every other fringe set. You should now have both long sides of the blanket with a knot in every other fringe set.
Go to one of the short side of the blanket (doesn't matter which one) and, starting again at the corner tie every other fringe set. Move to the second short side and tie every other fringe set. You should now have every other fringe set tied around the entire blanket.

8. Flip!
Now the exciting part! Flip the blanket over and re-smooth it out. Begin again and start tying every fringe that wasn't tied. Still follow the order of: long side 1, long side 2, short side 1, short side 2.


Now, you're done! That's it! Thank God.
You'll never want to tie another knot again...
Entire length of this project: ~ 2-3 hours. I did this pretty fast, it will take you a little longer if you have not done it before.